0 item(s)
View cart
You have no items in your shopping cart.
Having an dependable internet connection is just as important as having access to essential utilities such as water and electricity these days. With the rising need for home gadgets and services like gaming and streaming on demand along with the trend towards remote work setups becoming more prevalent than ever before having a fast and consistent internet connection has become increasingly crucial.
One effective method to guarantee reliability and speed is, by setting up an Ethernet network within your household. This detailed manual will guide you step by step, in setting up a home Ethernet network to equip you with the expertise and resources needed for an installation process.
Prior to delving into setting up the system s it’s crucial to grasp the concept of an Ethernet network and its advantages, for your household use. An Ethernet network refers to a system utilizing Ethernet cables to link gadgets to a router or switch for fast internet connection and efficient data transmission speeds.
Compared to Wi Fi that can sometimes face interruptions and weak signals an Ethernet network provides an speedy connection making it perfect for tasks demanding reliable high bandwidth, like gaming, streaming videos online or working remotely.
Ethernet networks tend to be more reliable than Wi Fi due, to their immunity to interference problems.
Ethernet network connections can offer speeds than Wi Fi networks do particularly when it comes to covering longer distances.
In terms of security considerations regarding connections to ethernet networks or devices for data transfer purposes. It is commonly understood that wired connections are generally considered to be more secure than connections due to their reduced vulnerability, to potential hacking incidents.
Ethernet network connections often boast latency levels compared to other types of connections and are particularly important for activities that require real time responsiveness such, as online gaming and video conferencing.
Installation Effective preparation forms the basis for a setup of an Ethernet network in your home. Start by understanding your requirements drawing out a plan, for your space and collecting all the tools and materials you'll need.
Understanding Your Requirements
Start by figuring out how devices you intend to link to your Ethernet network. Think desktop computers and laptops as well as gaming consoles and smart TVs, in different parts of your home.
Design a layout of your house. Indicate where you plan to connect all your devices to the Ethernet network on it. Decide on the spot for your router or network switch. This will serve as the main connection point, for your network. Take into account these considerations when selecting the spot:
Having a spot for all your devices can help shorten the Ethernet network cables needed and lessen the chances of signal weakening along the way.
Make sure the place is easy to reach for maintenance and upgrades.
Ensure that the router or switch is located close to power outlets for access, to a power source.
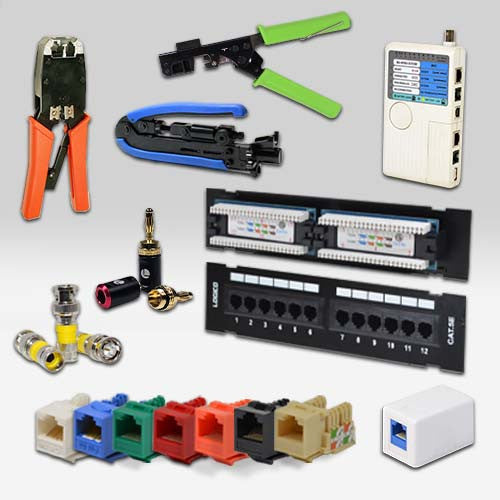
Acquiring Tools and Supplies To set up an Ethernet network successfully. You'll require the tools and materials listed below:
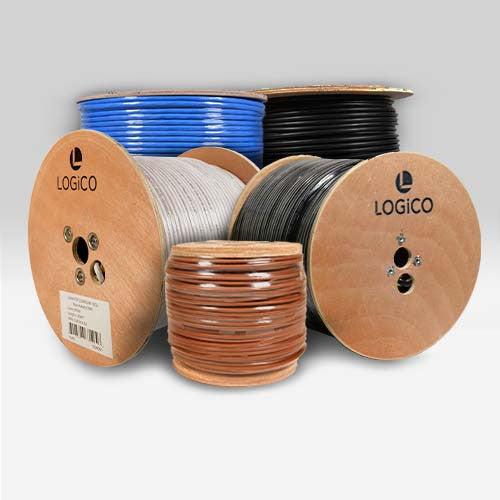
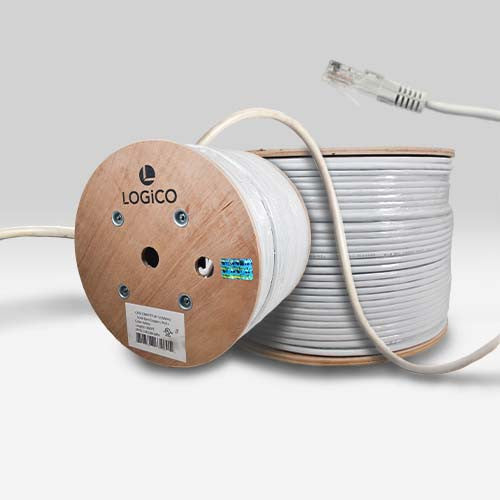
-Ethernet Network Cables (Cat5e, Cat6 or Cat6a)
-Ethernet network ports, on the walls. Cover plates.
-Device used for managing network connections. Network switch or router.
-Panel, for connecting cables
-Tools for organizing cables, like cable ties and clips.
-Tools like a fish tape or wire puller are commonly used for pulling wires, in installations.
-Tools for drilling and various types of drill bits.
-Tool for turning screws.
-Testing device for cables and connections.
A Detailed Guide for Installation, in Steps Now that you have your strategy ready and all the necessary materials, on hand it's time to start setting up your home Ethernet network.
Step 1: Setting up Ethernet connections
Installing Ethernet network cables throughout your home can often pose the challenge during the setup phase but here is a guide, on how to tackle it effectively;
Ensure to gauge and trim cables accurately by measuring the gaps from your router or switch to each device spot and cutting Ethernet network cords to the lengths with a bit of extra length, for maneuverability.
Make sure to drill holes in the walls or ceilings to pass the cables through smoothly without hitting any wires or pipes.
Thread the Ethernet network cables through the drilled holes and walls using fish tape or a wire puller. Remember to label each cable for easy identification of their intended destinations.
Make sure to set up Ethernet wall jacks at every device location and connect the cables to the jacks using either the T568 A or T568 B wiring standard to keep your network setup consistent.
Step 2: link them up to your router network switch
Place the router. Switch in a central location and make sure it is securely mounted and connected to a power source if needed.
Ensure that you connect the cables by plugging each Ethernet cable into the port, on the router or switch and utilize cable ties and clips to tidy up and secure them in an organized manner.
If you have a patch panel, for use; Begin by connecting the Ethernet cables to the patch panel before using short patch cables to link the panel with the router or switch.
Step 3: Involves checking the network for any issues
Before completing the setup process, for your installation it's important to check your Ethernet network to confirm that everything is functioning properly.
Begin by powering on your router or switch along with all connected devices.
Make sure to use a cable tester to inspect every Ethernet cable for consistency and correct wiring ensuring there are no interruptions or incorrect connections.
Make sure to test the connection by linking devices to the Ethernet network and confirming that they can access the internet and communicate with one another.
Step 4: Completing the installation
With the network successfully tested and operationalized you are now able to complete the installation process.
Install Secure Wall Plates by fastening the faceplates onto the Ethernet wall jacks.
Organize your cables neatly. Secure them using cable ties, clips or conduits to manage cable clutter effectively.
Remember to mark each Ethernet port and cable for future reference.
With thorough preparation and implementation of your Ethernet network installation plan you might face challenges throughout the process or afterwards. Here are a few typical issues that may arise and how to address them:
Trouble with staying connected. If your devices are having trouble connecting to the network make sure to review the following:
Make sure that all cables are firmly connected, to both the router, switch and devices to guarantee a connection.
Make sure the Ethernet cables are connected properly following either the T568a or T568b standard, for wiring.
Please verify the configurations of your router. Switch to make sure they are set up correctly.
Lagging internet connections. If you're having trouble, with your internet connection being slow...
Make sure to use notch Ethernet cables (Cat 7 or above) as it plays a crucial role, in maximizing performance.
For cable lengths signal degradation may occur so you might want to think about employing a network switch to enhance the signal over longer distances.
High levels of network activity may cause delays, in your connection speed so you might want to think about upgrading your router or switch if it struggles to manage the volume of traffic.
Inconsistent Internet Connection If your Ethernet network connection keeps cutting out
Make sure to look out for anything that might cause interference, like gadgets or other wireless equipment.
Make sure that all cables are properly connected and in condition to avoid any loose connections.
Try restarting your router or switch and make sure to look for any firmware updates available to address any connectivity issues you may be experiencing with them.
Broadening Your Ethernet Network. As your requirements increase over time you might find yourself in a situation where upgrading or expanding your Ethernet network becomes necessary. Here are some suggestions to help you navigate this process smoothly;
Incorporating Gadgets If you want to expand your Ethernet network with devices here's how you can do it;
If all the ports in your router are already taken up by devices plugged in via Ethernet cables you can expand the number of ports by connecting a network switch, to it.
Add wires if required for new devices and set up wall sockets as necessary at new locations, for better connectivity.
Improving Network Components One way to enhance the performance of an Ethernet network is, by making some adjustments.
Consider upgrading your router or switch to one with capacity enabling faster speeds and accommodating more devices effectively.
Upgrade your cables by swapping out the Ethernet cables with superior quality ones, such, as moving up from Cat to Cat or Cat a cables.
Exploring Cutting Edge Functions. To improve the performance of your network;
Splitting your network into Virtual LAN configurations (known as VLAN for short) can enhance security and optimize performance levels effectively.
Make sure to set up Quality of Service ( QoS) options on your router to give priority to activities, like video calls or gaming sessions.