You have no items in your shopping cart.

Running Ethernet cable, through walls may appear challenging for those not with home networking or construction. However by using the tools, materials and a systematic approach it becomes a project that can greatly enhance your home networks Ethernet Cable performance and reliability. This guide will provide you with all the information to effectively run Ethernet cable through walls.
Before delving into the "how " it's essential to grasp the "why." While wireless networks offer convenience they can be unreliable in homes or buildings with obstacles. Installing Ethernet cable through walls offers advantages:
Consistent Speeds: Ethernet connections deliver faster speeds compared to Wi Fi.
Reliability: Wired connections are less susceptible to interference and signal loss.
Security: Wired connections are inherently more secure than ones.
Latency: Ethernet cables provide latency, crucial for activities like gaming or video conferencing.
Effective planning is key, to an installation process. Here are the primary steps involved in the planning stage:
Assess Your Requirements: Determine the areas where you require Ethernet connections. Typical places include offices, entertainment hubs and gaming setups.
Plot Your Path: Plan how your Ethernet cable will be routed. This involves determining entry and exit points in each room as the path it will take through walls, floors or ceilings.
Select the Right Cable: Choose the type of Ethernet cable (Cat5e, Cat6, Cat6a) based on your speed needs and budget constraints.
Measure the Length: Determine the distance, for the Ethernet cable installation to ensure you buy an amount of cable.
Tools and Materials Required
Before you begin installing gather all tools and materials. Here's a list to help you get started:
Ethernet Cable: Depending on your requirements choose between Cat5e, Cat6 or Cat6a.
Ethernet Jacks: Wall plates and keystone jacks.
Fish Rods: Used for guiding ethernet cables through walls.
Drywall Saw: For cutting openings in walls.
Drill and Drill Bits: Needed for drilling holes through studs and walls.
Measuring Tape: Essential for measurements.
Stud Finder: To locate studs accurately and avoid drilling into them.
Cable Clips: Used to secure cables, along their paths.
Cable Tester: Ensure your connections are functioning correctly with this tool.
Here's a user friendly guide, on how to install Ethernet cable through your walls;
Step 1: Plan Your Cable Route Determine the path for your Ethernet cable to travel between the starting point (like your router) and its destination. Opt for the most direct route to keep cable length minimal. Identify and steer clear of obstacles such as plumbing, electrical wiring and ductwork. Decide where you'll need openings in walls or floors for access points.
Step 2: Safety First – Turn Off Power Before beginning work switch off power to the areas where you'll be working to prevent any chance of shocks. Always use a voltage tester to confirm that there's no electricity in the area.
Step 3: Find Studs Use a stud finder tool to locate wall studs. Mark their positions with a pencil. Studs are usually spaced about 16 to 24 inches apart. May impact your cable installation.
Step 4: Create Openings for Wall Plates For each spot where you want an Ethernet jack use a drywall saw to cut an opening, for the wall plate. Make sure the opening is the size, for the wall plate you plan to use.
Step 5: Create Holes in the Studs If your cable needs to go through studs drill holes to pass it through. Use a drill with a bit size ( around ¾ inch) to make these holes. Be cautious not to harm any existing wires or plumbing.
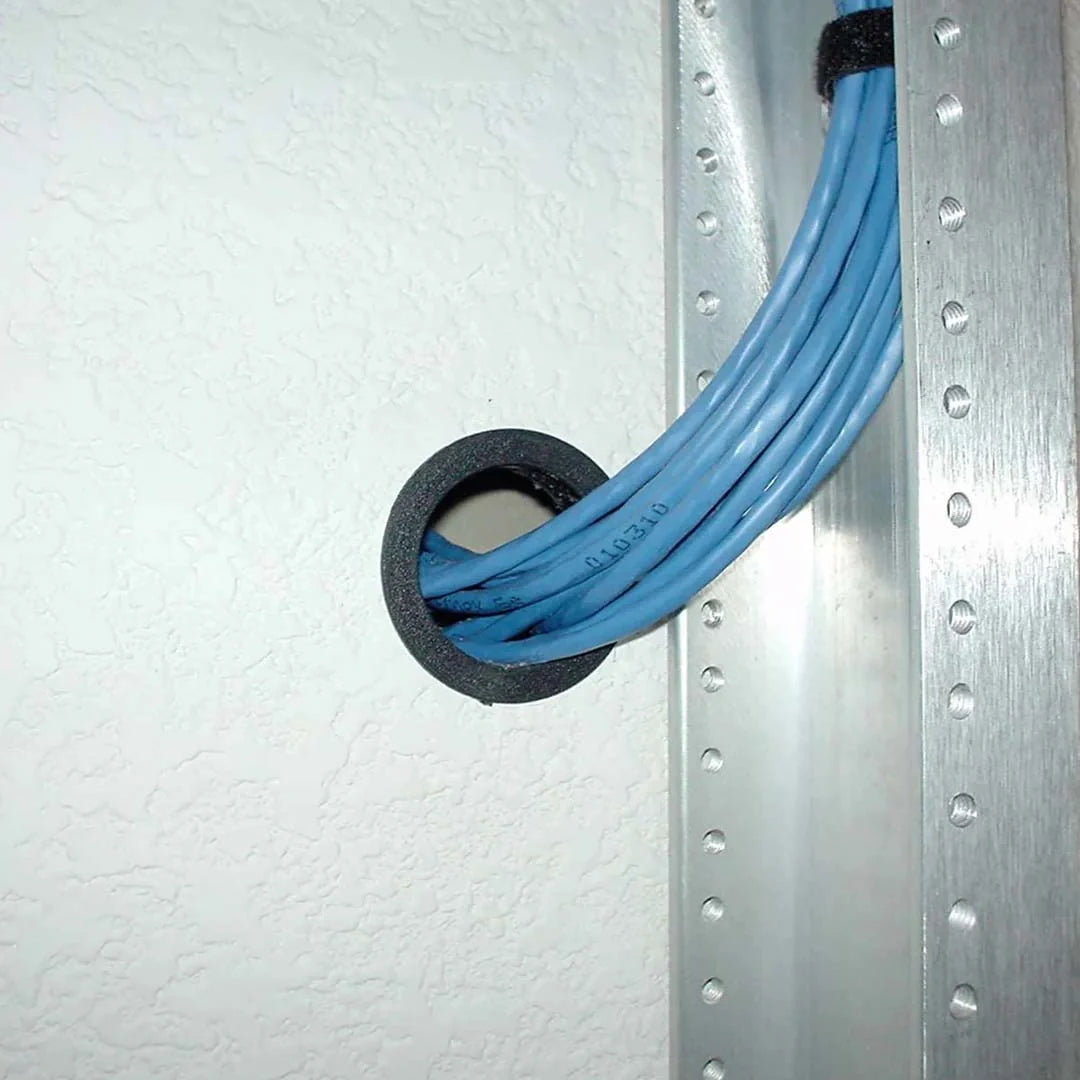
Step 6: Thread the Cable Through the Walls To guide the Ethernet cable through the walls use fish tape or rods. Connect one end of the cable to the fish tape. Push or pull it through the drilled holes and openings. This step might take some time for distances or narrow spaces.
Step 7: Guide the Cable to Its Destination Gently guide the Ethernet cable through the walls ensuring it follows your planned path. Avoid pulling to prevent any damage. Secure the cable along its route using clips in areas where it could droop or shift.
Step 8: Connectors and Termination Once you've positioned the cable correctly you'll need connectors for termination.
Here's how Strip off Outer Jacket:
Utilize a cable stripper to remove the covering of the Ethernet cable and reveal its wires. Invest in high quality cables and connectors to guarantee long term reliability and optimal performance.
When setting up your network you might face some issues despite preparation. Here are a few typical problems, along with their solutions;
No Connection: Check for connections or incorrect wiring. Use a cable tester to pinpoint the problem.
Slow Speeds: Make sure you're using the category of Ethernet cable and that its free from damage.
Interference: If interference occurs inspect the cable routing to ensure it's not too close to wiring or devices.
Enhancing your home or office network by running Ethernet cables through walls can lead to more connections. Although it involves planning using the tools and precise execution the benefits outweigh the effort.
By following this guide step by step you can successfully install Ethernet cables through walls for improved performance and reliability in your network setup. Remember safety first opt, for quality materials and take your time for an installation process.
